The Ultimate Guide to ThinkPad Tablet Setup
Introduction
Setting up a ThinkPad tablet can be an exciting experience, whether you’re a tech-savvy user or a novice. To maximize your device’s potential, a systematic approach is essential. This comprehensive guide will walk you through the necessary steps to get your ThinkPad tablet up and running efficiently and effectively.

Unboxing and Preparing Your ThinkPad Tablet
Unboxing your new ThinkPad tablet marks the start of your tech journey. Carefully remove the tablet and all accessories from the packaging, including the stylus, charger, USB cables, and documentation. Set up a clear workspace to organize these items.
Before powering on the device, attach any included accessories like the stylus or keyboard. Ensure to charge your ThinkPad for at least an hour to avoid interruptions during the setup process. Plug in the charger and inspect the tablet for any physical damage.
With everything in place, press the power button to turn on your ThinkPad tablet. As it powers up to the Lenovo welcome screen, you’re ready to proceed to the next steps in the setup guide.
Initial Software and OS Configuration
After the initial boot, follow on-screen prompts to select your region and preferred language. This sets the system messages and settings to your regional preferences.
You will be prompted to sign in with a Microsoft account. If you don’t have one, creating an account is straightforward and essential for accessing various features and apps within the Windows ecosystem. After signing in, personalize your device by naming it.
During this phase, agree to Lenovo and Microsoft’s terms and conditions. You can also connect your device with other Lenovo products and opt into any bundled services or software trials that come with your ThinkPad tablet.

Connecting Your ThinkPad Tablet to the Internet
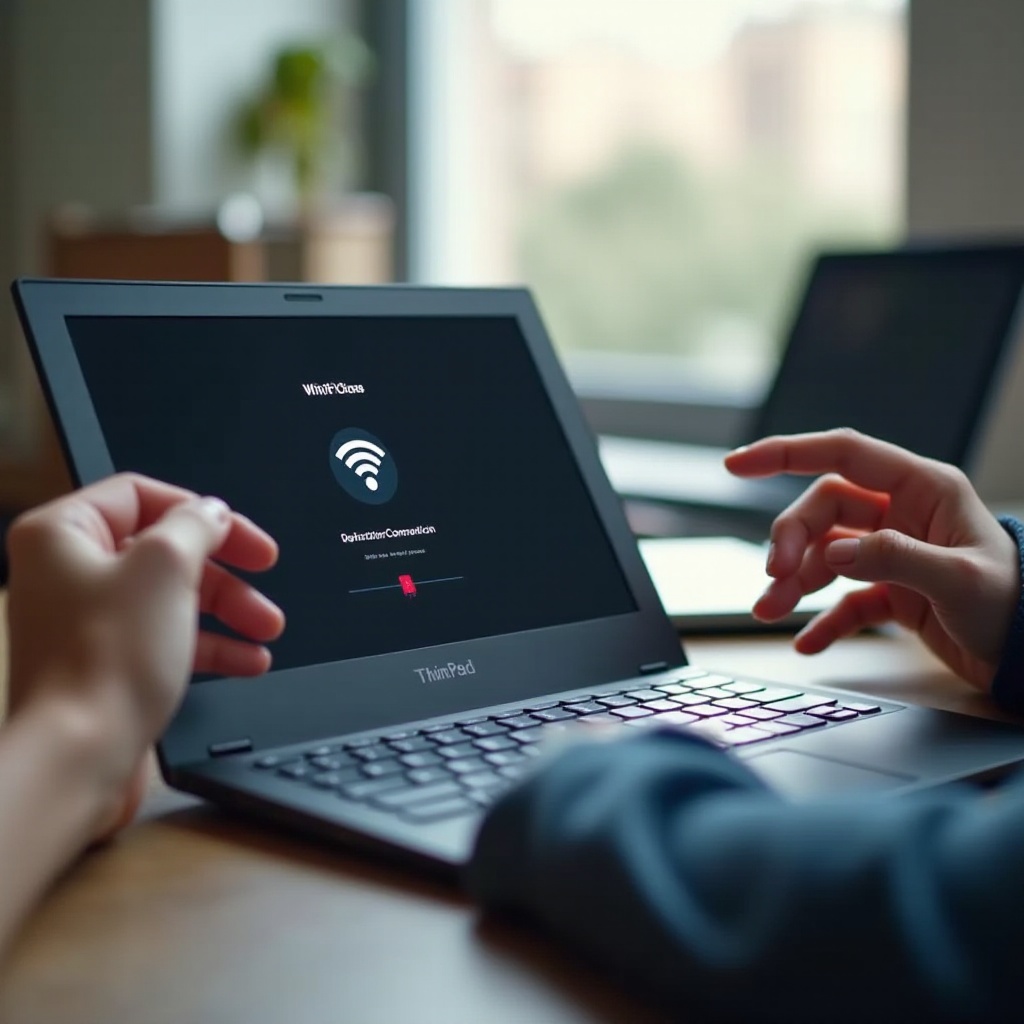
A stable internet connection is vital for downloading essential updates and software. When prompted, follow these steps to connect to a Wi-Fi network:
- Click on your network name.
- Enter the Wi-Fi password.
- Click ‘Connect.
Once connected, your ThinkPad will search for any available Windows updates, which might take some time. A stable internet connection ensures a seamless update process and keeps your antivirus software current, protecting your device from potential threats.
Installing Essential Software and Drivers
With an internet connection established, the next step is to install essential software and drivers. Start with Windows updates to ensure your system has the critical drivers for smooth functionality.
To proceed:
1. Go to Settings > Update & Security > Windows Update.
2. Click on Check for updates and install any available updates.
Next, visit Lenovo’s official website to download and install drivers specific to your tablet model, including graphics, audio, and network drivers.
For productivity, install software like Microsoft Office and antivirus programs. The Microsoft Store offers additional applications to enhance your ThinkPad experience.
Customizing Settings and Preferences
Personalizing your ThinkPad tablet settings can significantly enhance your productivity and ease of use. Start with display settings, adjusting brightness, wallpaper, and sleep settings under Settings > System > Display.
Configure your Start Menu and Taskbar to pin frequently used apps for quick access. Adjust touchpad or mouse settings under Devices, ensuring comfortable navigation.
- Personalize: Change themes, colors, and lock screen settings under Settings > Personalization.
- Notifications: Modify notification settings under Settings > System > Notifications & actions.
- Accounts: Manage various accounts, including work or school accounts, under Settings > Accounts.
These customized settings provide quick access and better efficiency while using your ThinkPad tablet.
Ensuring Security and Data Protection
Securing your ThinkPad tablet is paramount. Start by setting a strong password or PIN for device access. Enable Windows Hello for fingerprint or facial recognition for added security.
To secure your data:
1. Enable BitLocker Encryption under Settings > Update & Security > Device encryption.
2. Install a reputable antivirus or enable Windows Defender for real-time protection.
3. Set up Windows Firewall to prevent unauthorized access.
Regularly update your system and software to maintain security. Schedule daily or weekly scans for malware and other threats to ensure ongoing protection.
Conclusion
Following the steps outlined in this guide ensures that your ThinkPad tablet is fully configured and tailored to meet your needs. From unboxing to customizing settings, each phase is crucial for maximizing your device’s capabilities. Enjoy exploring the robust features and applications that your ThinkPad tablet offers for both work and leisure.
Frequently Asked Questions
How do I connect my ThinkPad Tablet to a Wi-Fi network?
To connect your ThinkPad Tablet to a Wi-Fi network, navigate to **Settings** > **Network & Internet** > **WiFi**, then select your network from the list and enter the password.
What should I do if my ThinkPad Tablet isn’t charging properly?
If your ThinkPad Tablet isn’t charging, first check the power source and ensure that the charger is properly connected. If the issue persists, try using a different charger or consult Lenovo customer support.
How can I reset my ThinkPad Tablet to factory settings?
To reset your ThinkPad Tablet to factory settings, go to **Settings** > **Update & Security** > **Recovery**, and select **Get Started** under **Reset this PC**. Choose either ‘Keep my files’ or ‘Remove everything’ based on your preference. Follow the on-screen instructions to complete the reset process.