How to Adjust Brightness on Your ViewSonic Monitor Using the Joystick Control
Introduction
Adjusting the brightness on your ViewSonic monitor is crucial for optimal viewing comfort and reducing eye strain. Whether you’re working on a detailed project, watching a movie, or gaming, having the right brightness can enhance your overall experience. On ViewSonic monitors, this can be efficiently done using the joystick control. This handy control tool is not only intuitive but also offers precise adjustment options. This guide will walk you through understanding the joystick control and provide a step-by-step method to adjust the brightness.
Understanding the Joystick Control on ViewSonic Monitors
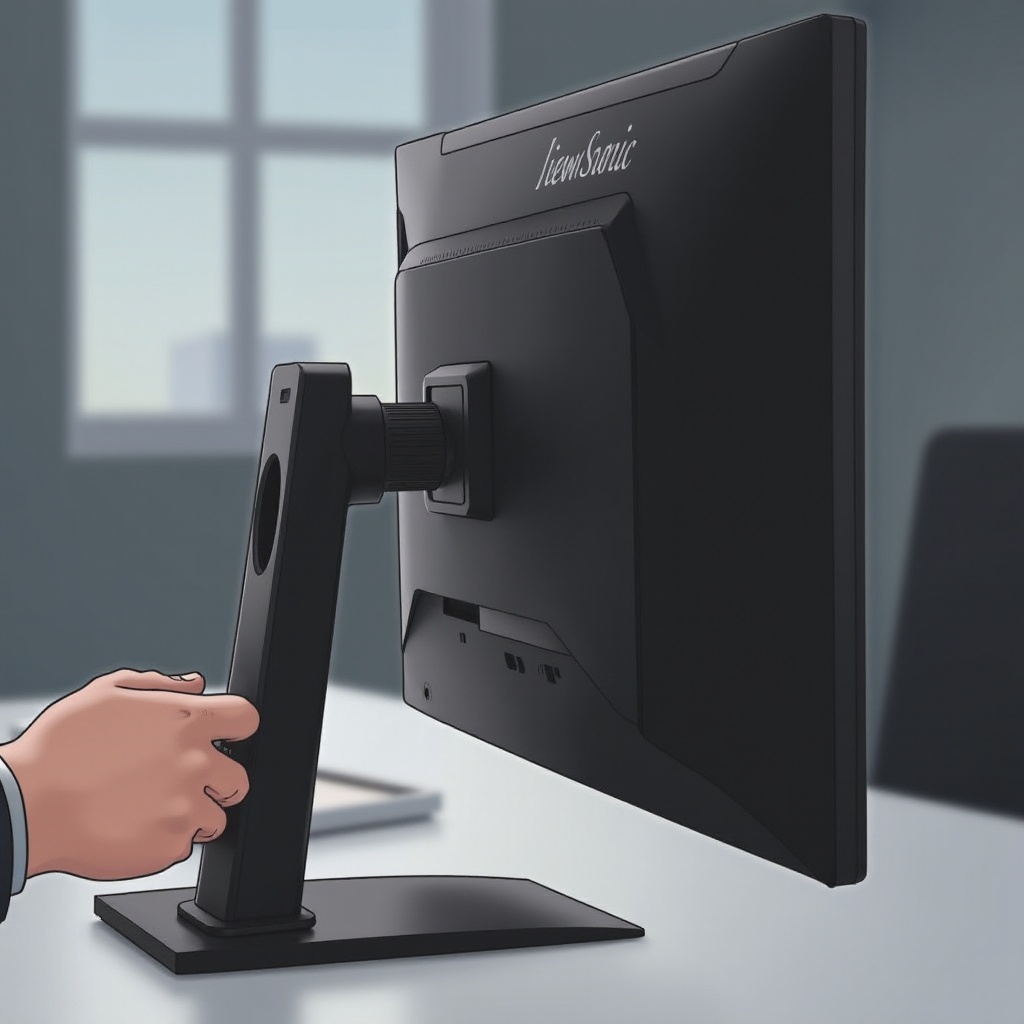
ViewSonic monitors come equipped with a joystick control, usually located on the rear or bottom-right side of the monitor. This small, multi-directional stick is designed to navigate through the monitor’s on-screen display (OSD) menu efficiently.
The joystick offers a more streamlined, user-friendly way to adjust various settings compared to traditional buttons. By pushing the joystick in different directions and pressing it, users can access different menu items and make precise adjustments. Understanding how to use this joystick control is key to optimizing your monitor’s settings for the best visual experience.
Step-by-Step Guide to Adjusting Brightness
Follow these steps to adjust the brightness on your ViewSonic monitor using the joystick control:
-
Power on the Monitor: Ensure your ViewSonic monitor is powered on and displaying an image.
-
Locate the Joystick Control: Find the joystick control on the back or underside of the monitor. It may be accompanied by other small buttons for additional functions.
-
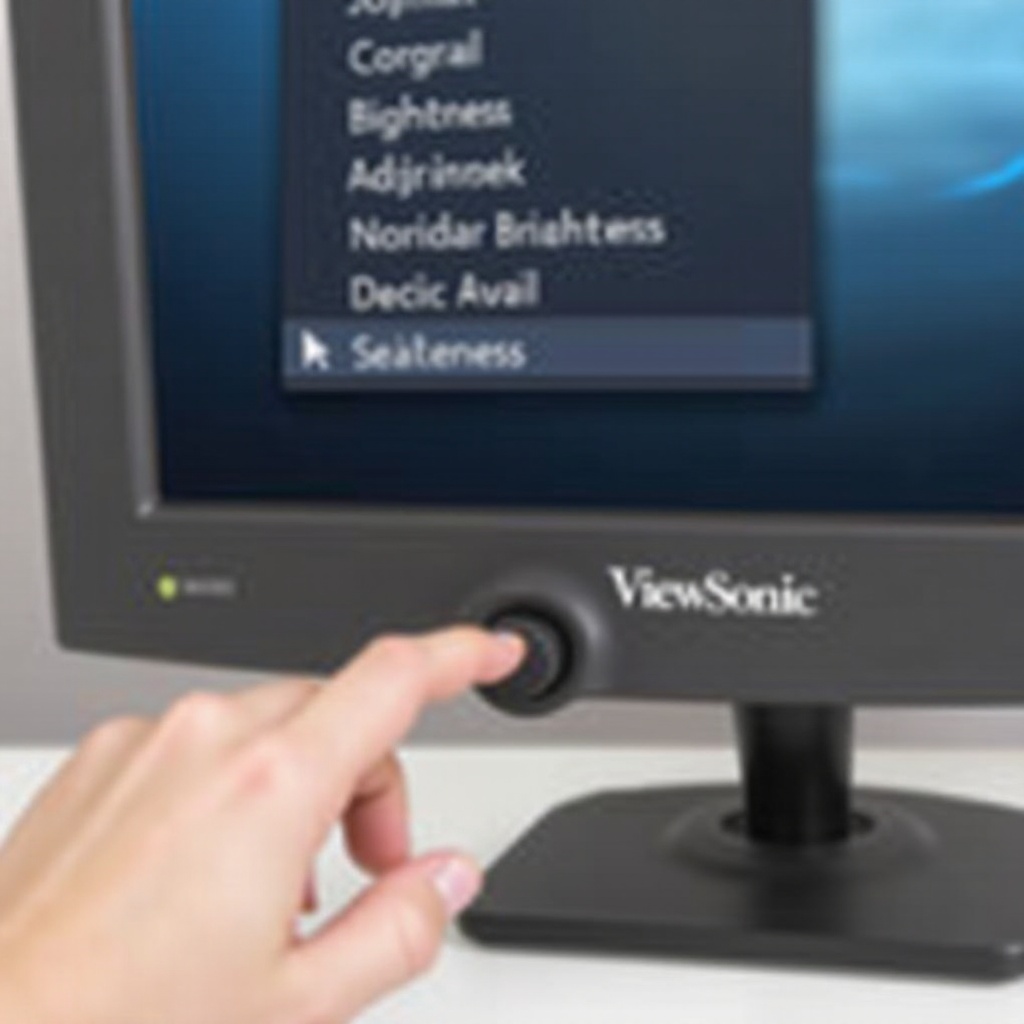
Access the OSD Menu:
-
Press the joystick inward to pull up the OSD menu. You’ll see various options for adjusting the monitor settings.
-
Navigate to Brightness Settings:
- Push the joystick up, down, left, or right to navigate through the menu.
-
Look for the ‘Brightness’ option. This can usually be found under the ‘Picture’ or ‘Display’ settings.
-
Adjust the Brightness:
- Once the ‘Brightness’ option is highlighted, press the joystick inward to select it.
-
Move the joystick left or right to adjust the brightness level according to your preference.
-
Confirm the New Brightness Setting:
-
After adjusting, press the joystick inward once more to confirm the setting.
-
Exit the OSD Menu:
- Navigate to the exit option in the OSD menu or press the joystick a few times to exit back to the main display.
Tips for Optimal Brightness Settings
Setting the correct brightness is essential for comfort and picture quality. Here are some tips:
- Lighting Conditions: Adjust the brightness according to the ambient light in your room. A brighter room requires higher brightness settings, while a dim room should have lower brightness.
- Eye Comfort: Keep brightness at a level that is comfortable for your eyes. High brightness can cause eye strain over long periods.
- Content Viewing: Match brightness settings to the type of content you’re viewing. Office work may need lower brightness than watching movies or playing video games.
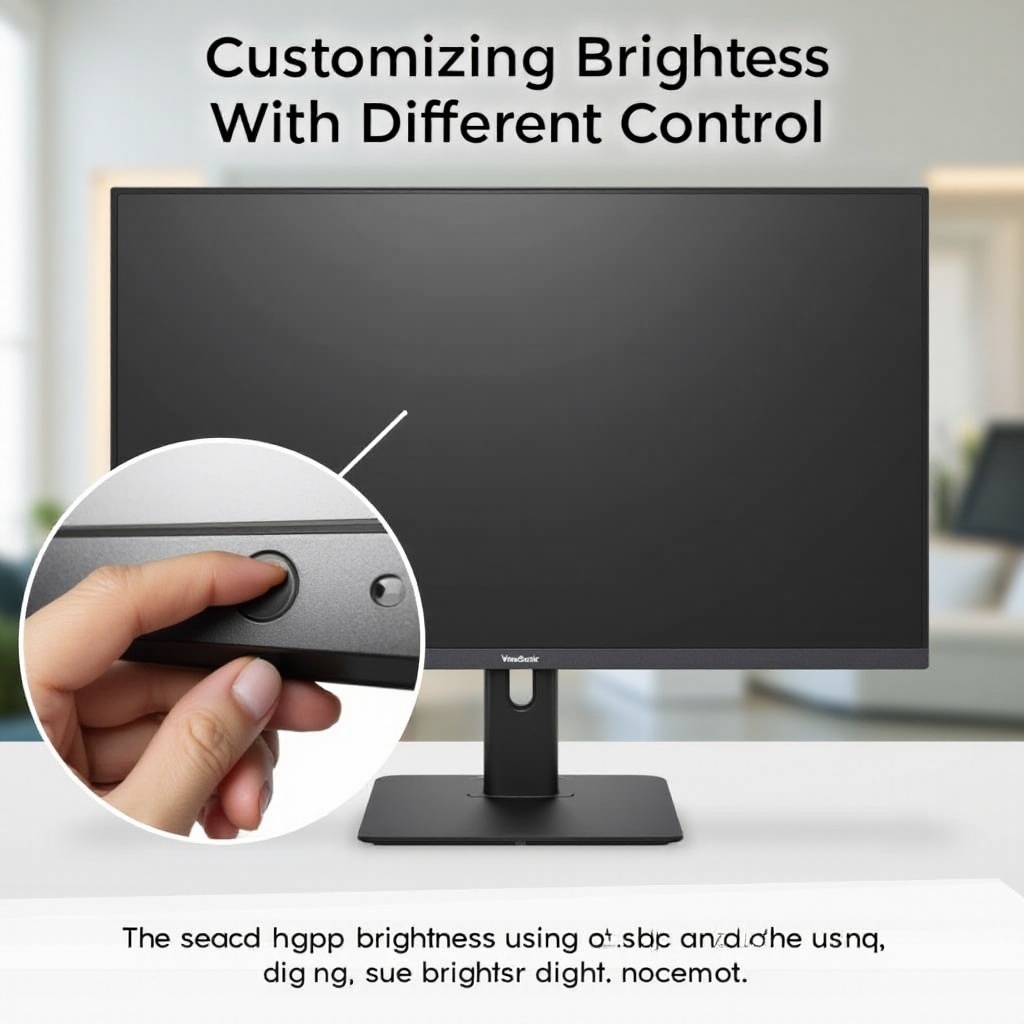
Customizing Brightness for Different Tasks
Different tasks require different screen settings. Customize your monitor brightness for various tasks like:
- Work Mode: Lower brightness for prolonged computer use to prevent eye strain.
- Entertainment Mode: Increase brightness for watching movies or playing games to enhance visual experience.
- Reading Mode: Opt for balanced brightness when reading long texts online or working on detailed projects.
These adjustments not only improve comfort but also ensure the best possible visual quality.
Troubleshooting Common Issues
If you encounter issues while adjusting the brightness, consider these troubleshooting steps:
- Joystick Unresponsive: Check if the monitor’s power cable is securely connected. Unplug and reconnect the power and HDMI/DisplayPort cables.
- OSD Menu Not Appearing: Ensure the monitor is set to the correct input source. Try restarting the monitor.
- Brightness not Changing: Reset the monitor to factory settings and try adjusting again.
Conclusion
Having the right brightness settings on your ViewSonic monitor enhances the viewing experience and reduces eye strain. Using the joystick control, you can easily and effectively adjust the brightness setting suited to your needs. This guide serves as your step-by-step companion in navigating and customizing your ViewSonic monitor settings efficiently.
Frequently Asked Questions
How do I reset my ViewSonic monitor to factory settings?
To reset your ViewSonic monitor to factory settings, access the OSD menu using the joystick control. Navigate to the ‘Setup Menu’ or similar option, select ‘Reset,’ and confirm the reset to restore default settings.
What should I do if the joystick control is not responding?
If the joystick control is unresponsive, ensure all cables are correctly connected. Unplug and reconnect the power and input cables. If it still doesn’t respond, restart your monitor. If the problem persists, contact ViewSonic support.
How can I improve my monitor’s brightness in different lighting conditions?
Adjust your monitor’s brightness based on the lighting conditions of your environment. Use higher brightness in well-lit rooms and lower settings in darker rooms. Regularly recalibrate to match the lighting changes throughout the day.