How to Clean Computer Motherboard: A Comprehensive Guide
Introduction
Cleaning the computer motherboard is essential for optimal performance and longevity. Dust and debris can accumulate over time, leading to overheating and hardware malfunctions. This comprehensive guide will walk you through the entire process of cleaning your computer motherboard safely, ensuring your PC remains in top condition.
Essential Tools and Safety Precautions
Before you start cleaning your motherboard, gather all necessary tools and follow important safety precautions. You will need:
- A can of compressed air
- A soft-bristled brush
- Isopropyl alcohol (at least 90% concentration)
- Microfiber cloths
- Anti-static wrist strap
- Screwdrivers
Safety is paramount. Always wear an anti-static wrist strap to prevent electrostatic discharge (ESD), which can damage your motherboard. Work in a clean, well-ventilated area to avoid inhaling dust particles. Lastly, ensure your computer is powered off and unplugged before commencing any cleaning operations.
Preparing Your Workspace and Computer
Set up a clean workspace with adequate lighting to clearly see all components. Place an anti-static mat on your work surface to safeguard against ESD. Carefully unplug all cables from your computer and place it on your workspace. Remove the side panel of your computer case to gain access to the motherboard.
Keep screws and small components in a safe container to avoid losing them. Taking these preparatory steps ensures a smooth and organized cleaning process.
Once everything is set, you can move on to inspecting your motherboard.
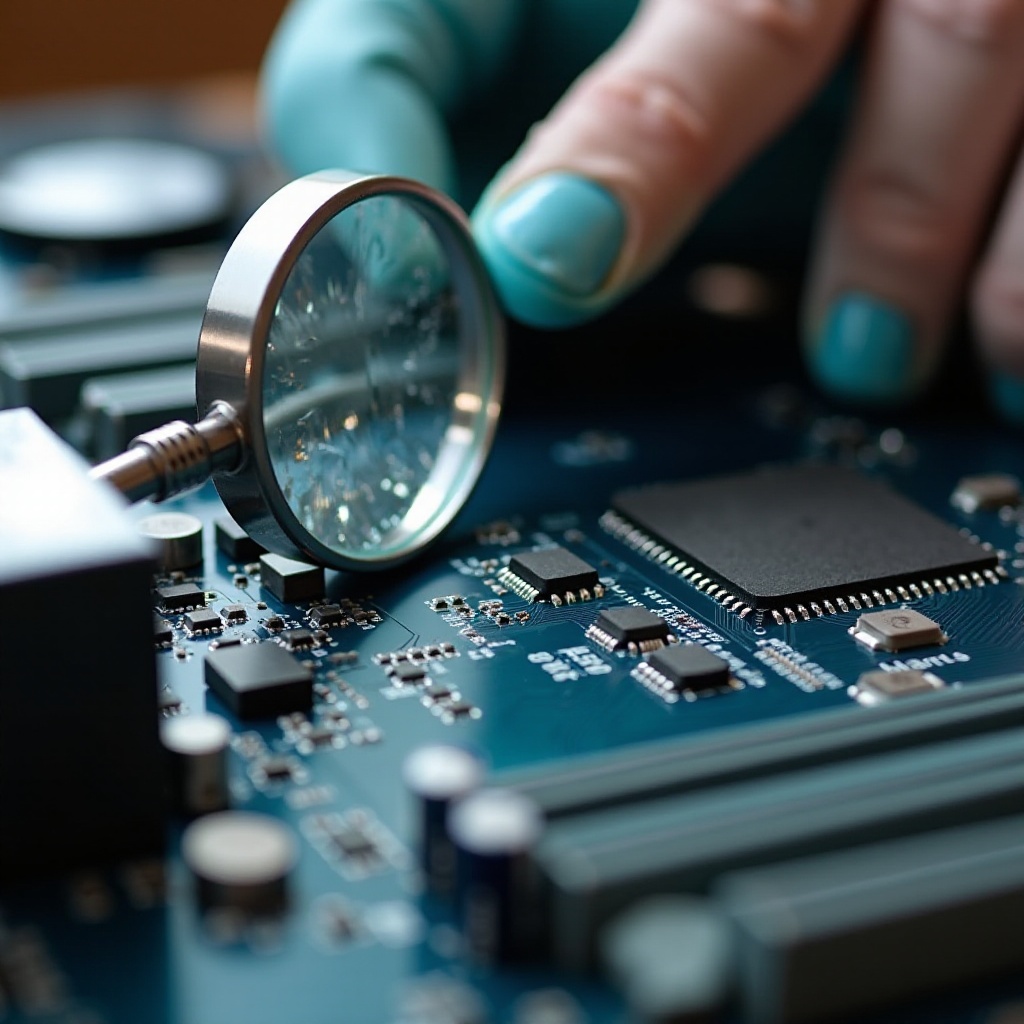
Inspecting Your Motherboard
After gaining access to the motherboard, visually inspect it for any obvious signs of damage or heavy dust accumulation. Look for burnt areas, swelling capacitors, or other irregularities. Identifying these issues beforehand allows you to focus on problem areas and handle them with extra care during cleaning.
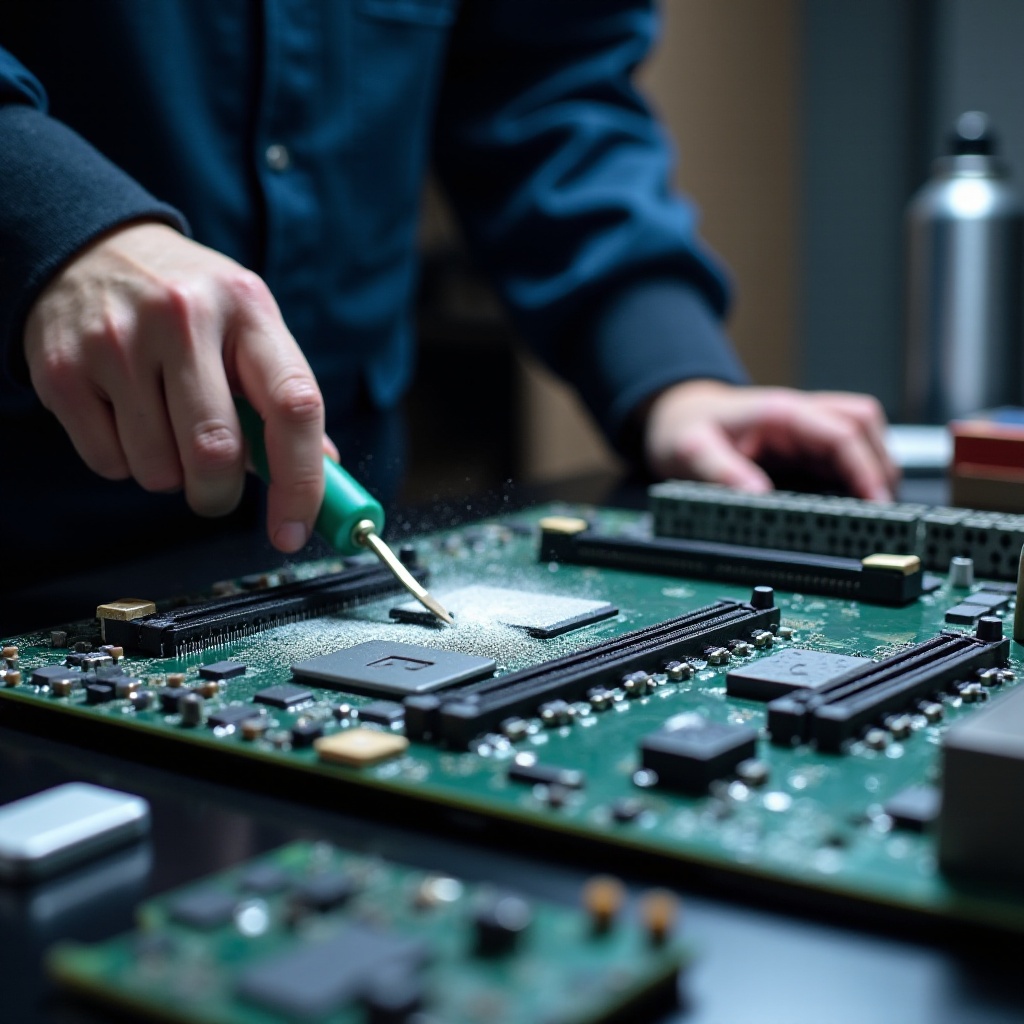
Cleaning the Motherboard: Dry Methods
Dry cleaning methods are usually sufficient for regular maintenance. Here are the steps:
- Use Compressed Air: Hold the can upright and spray short bursts of air to remove loose dust. Keep the nozzle a few inches away to avoid damage.
- Soft-Bristled Brush: Gently brush away dust from between components, targeting areas where compressed air might have missed.
- Microfiber Cloth: Lightly wipe larger, flat surfaces of the motherboard to pick up remaining dust particles.
Dry cleaning is typically both efficient and safe, maintaining cleanliness without the risk of introducing liquids.
If dry methods are insufficient, wet cleaning techniques might be required.
Cleaning the Motherboard: Wet Methods
When dry cleaning isn’t enough, wet cleaning might be necessary. Follow these steps cautiously:
- Isopropyl Alcohol: Dip a microfiber cloth in isopropyl alcohol and wring out excess liquid. The cloth should be damp, not soaked.
- Spot Cleaning: Carefully wipe the motherboard, focusing on grimy or stained areas. Isopropyl alcohol evaporates quickly and leaves no residue.
- Cotton Swabs: For tight spots, moisten a cotton swab with alcohol and gently clean.
Make sure the motherboard is completely dry before reassembling it. Wet cleaning should be performed sparingly to minimize risk.
Cleaning Fan Ports and Heat Sinks
Proper airflow is crucial for maintaining system temperatures. Here’s how to clean fan ports and heat sinks:
- Unplug and Remove Fans: Carefully disconnect and remove fans from their mounts.
- Compressed Air: Blow out dust from fan blades and within heat sinks.
- Brush and Cloth: Use a brush to dislodge stubborn dust, followed by a microfiber cloth to wipe down components.
Clean cooling elements enhance performance and prolong hardware life. After cleaning critical parts, you can proceed to put everything back together.
Reassembling Your Computer
Reassemble your computer by reversing the disassembly steps:
- Reconnect Fans: Securely reattach all fans, ensuring connectors are properly plugged in.
- Reinstall Side Panel: Place the side panel back onto your computer case and tighten the screws.
- Reconnect Cables: Plug in all cables and peripherals.
Ensure all components are properly seated and secured. Double-check connections to avoid issues during power-up.
Powering Up and Testing
Once your computer is reassembled, plug it back in and power it on. Monitor the boot process closely. Listen for unusual noises and watch for error messages. If the computer doesn’t start, recheck all connections and make sure no components were accidentally disconnected.
Regularly check component temperatures using system monitoring software to validate that cleaning has contributed positively to system cooling.
Maintenance Tips to Keep Your Motherboard Clean
Maintaining a clean environment for your computer helps prolong its cleanliness and improves performance. Here are some tips:
- Routine Cleaning: Clean your computer every 3-6 months to prevent build-up.
- Dust Filters: Use dust filters on intake fans to minimize dust entry.
- Environment: Keep your computer in a cool, clean area, away from floors and windows where dust can accumulate.
Preventative maintenance ensures your components stay clean and functional for longer periods. Following these practical tips can help maintain the cleanliness and performance of your motherboard over time.
Conclusion
Cleaning your computer motherboard is necessary to ensure optimal performance and longevity. Regular maintenance helps prevent overheating and hardware malfunctions. With the right tools and precautions, cleaning can be done safely and effectively. Follow this guide and keep your system running smoothly, ensuring that your PC remains reliable and efficient for all your computing needs.
Frequently Asked Questions
How often should I clean my computer motherboard?
You should clean your computer motherboard every 3 to 6 months. However, the frequency may depend on your environment; dusty areas may require more frequent cleaning.
Can I use water to clean my motherboard?
No, using water can damage your motherboard. Instead, use isopropyl alcohol, which evaporates quickly and leaves no residue.
What should I do if my computer doesn’t turn on after cleaning the motherboard?
Recheck all connections and ensure that no components were accidentally disconnected during the cleaning process. Verify that the motherboard is dry before attempting to power it on again.