How to Remove Ring Camera from Wall (2024 Guide)
Introduction
Removing your Ring camera from the wall can seem challenging without proper guidance. Whether you’re upgrading to a new model, relocating, or returning the product for some reason, knowing the correct steps is crucial to avoid any damage to your device or wall. This guide will walk you through the necessary tools and effective methods, ensuring a smooth and safe removal process.
Tools and Preparations
Before you start the removal process, gathering the right tools is essential. Here is what you’ll need:
- A screwdriver (preferably Phillips head)
- A ladder or step stool (if the camera is mounted high)
- Storage bag for screws and small parts
- A soft cloth or sponge (to clean the mount area)
Once you’ve gathered your tools, make sure to turn off the camera to ensure safety while working. This preparation phase is crucial to ensure the process goes smoothly without interruptions.
Step-by-Step Removal Instructions
Removing your Ring camera involves several detailed steps to ensure everything is disconnected safely and nothing is damaged.
Step 1: Turn Off and Disconnect the Camera
First, ensure your camera is turned off. This is crucial for your safety and prevents any tampering or data corruption.
- Go to the Ring app on your phone.
- Navigate to the device settings.
- Select ‘Device Health’ and turn off the power remotely, if your model allows this.
Next, disconnect the power source if the camera is wired.
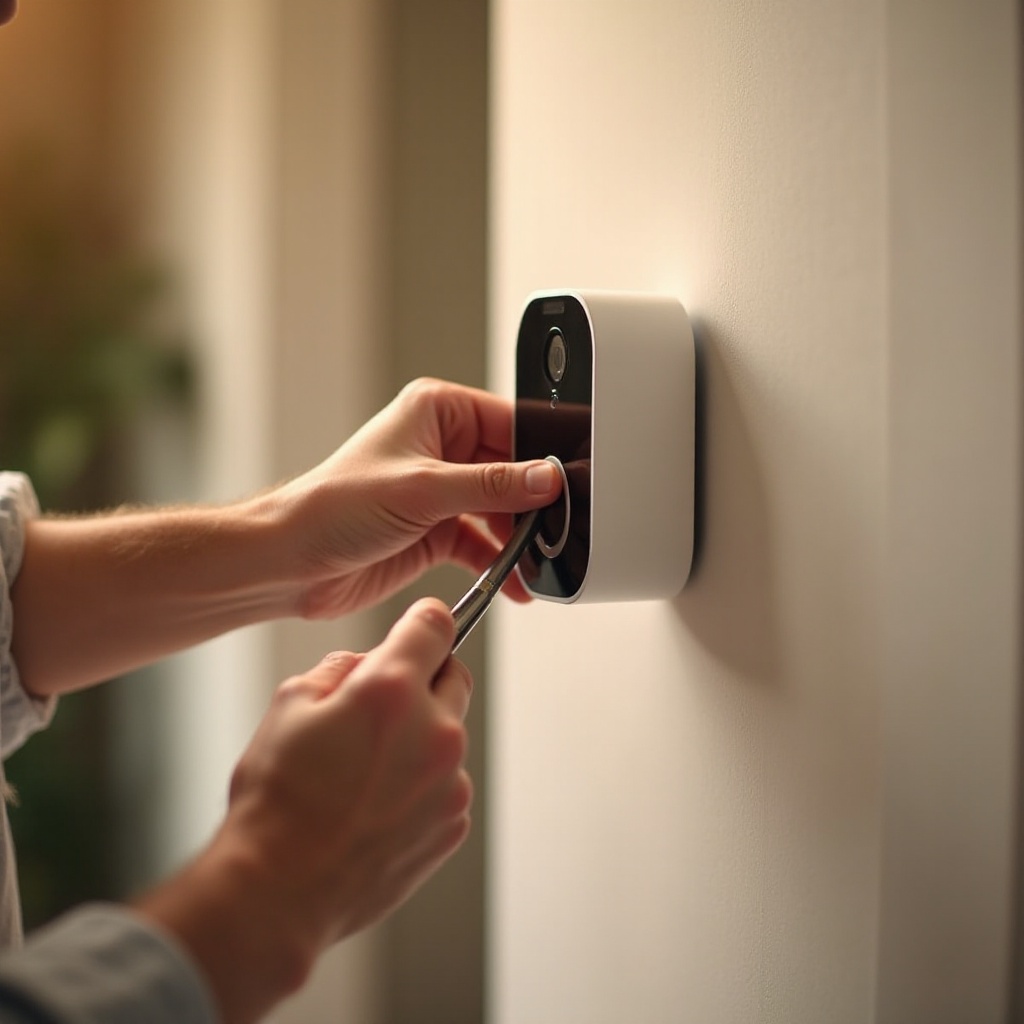
Step 2: Remove the Faceplate
With the camera off, it’s time to remove the faceplate:
- Depending on your camera model, you may need a small screwdriver to release the faceplate.
- Gently pull the faceplate away from the camera body, taking care not to force it.
Keep the faceplate and any screws in a safe place.
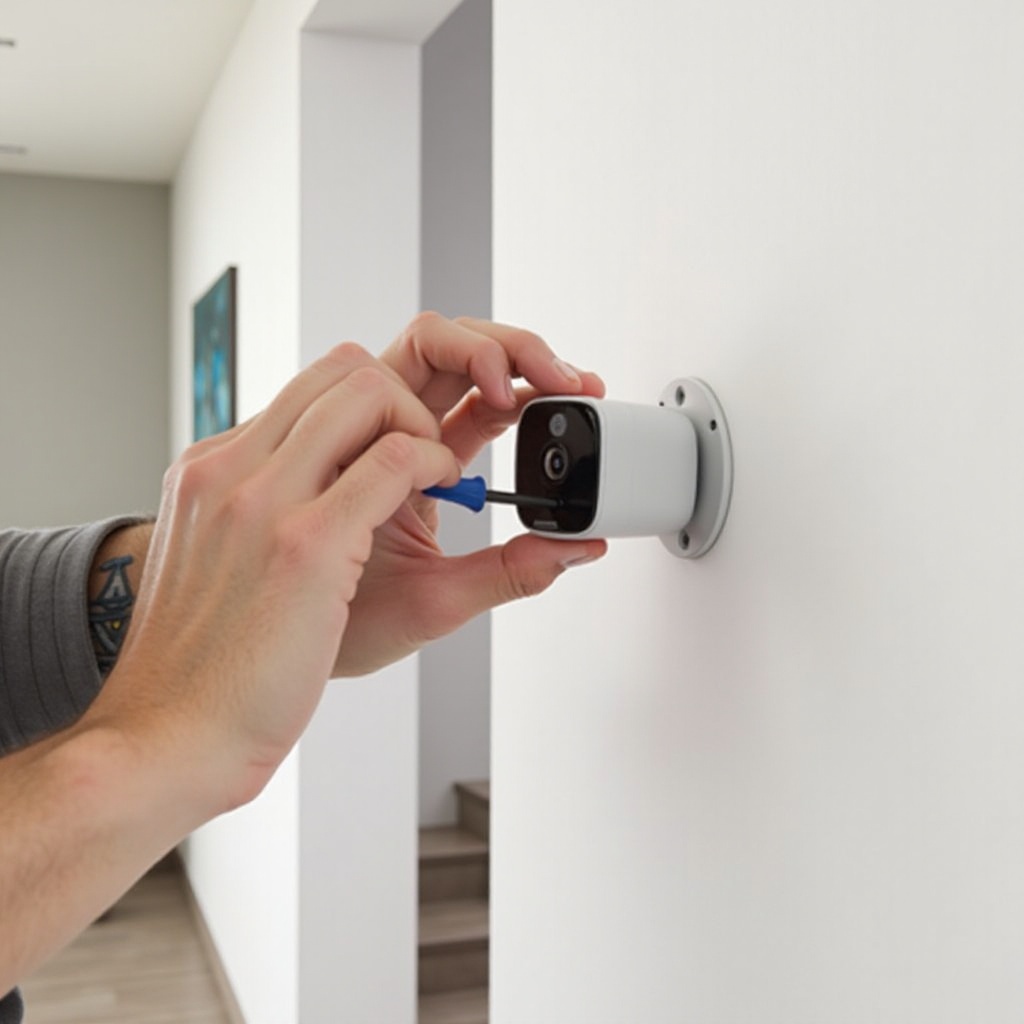
Step 3: Unscrew the Mounting Screws
Now, you’ll need to unscrew the mounting screws that attach the camera to the wall:
- Position your ladder or step stool to comfortably reach the screws.
- Using the screwdriver, turn the screws counterclockwise to loosen them.
- Remove the screws one by one, keeping them in a storage bag to avoid losing any components.
Take your time with this step to ensure the camera and surrounding wall aren’t damaged.
Post-Removal Tips
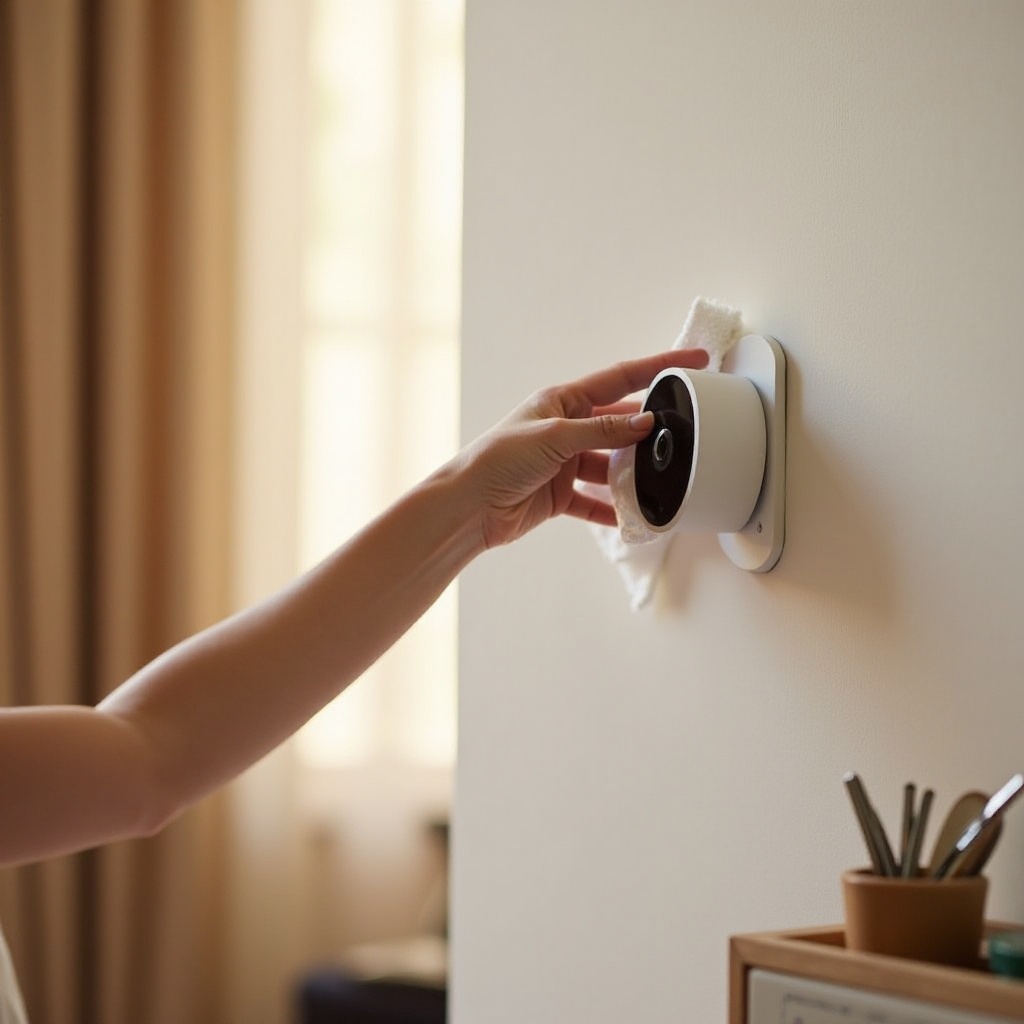
After successfully removing the camera, there are a few things to consider:
- Store the camera and its parts safely if you intend to reuse or relocate it. Place all screws and faceplates in a labeled bag.
- Clean the wall area to remove any dirt or residue left by the camera with a soft cloth or sponge.
Proper storage and cleaning ensure that everything is ready for when you need to remount the device or give it away.
Dealing with Wall Damage
Occasionally, wall damage can occur during the removal process. Here’s how to handle it:
- Minor Scuffs: Clean with a mild cleaner and sponge.
- Holes: Fill with spackle, smooth it out, and paint over the area to match the wall color.
Taking care of any damage promptly will keep your wall looking great and ready for your next mounting project.
Conclusion
Removing your Ring camera from the wall doesn’t have to be a daunting task. By following these steps and using the right tools, you can safely and efficiently remove the camera without damaging your device or wall. Remember to handle everything gently and store all parts properly for future use.
Frequently Asked Questions
Can I reinstall my Ring camera after removal?
Yes, you can reinstall your Ring camera. Make sure you have all parts and mounting hardware available for easy reinstallation.
What should I do if I don’t have the original tools?
If you don’t have the original tools, you can usually find suitable replacements at a hardware store. A standard Phillips head screwdriver often works well.
How do I dispose of or recycle my Ring camera?
To dispose of or recycle your Ring camera, follow local electronic waste disposal guidelines or contact Ring for assistance in recycling the device.